

Reverse ETL: sync Usermaven data to your tools
Reverse ETL (short for "reverse extract, transform, load") lets you push data out of Usermaven into tools you already use, like your CRM or marketing platform. Instead of just bringing data in to analyze it, you can send the insights you've built in Usermaven back out to the places where your team acts on them.
This guide explains what Reverse ETL is, what you can use it for, and how to set up your first sync step by step, using HubSpot as the example destination.
Overview
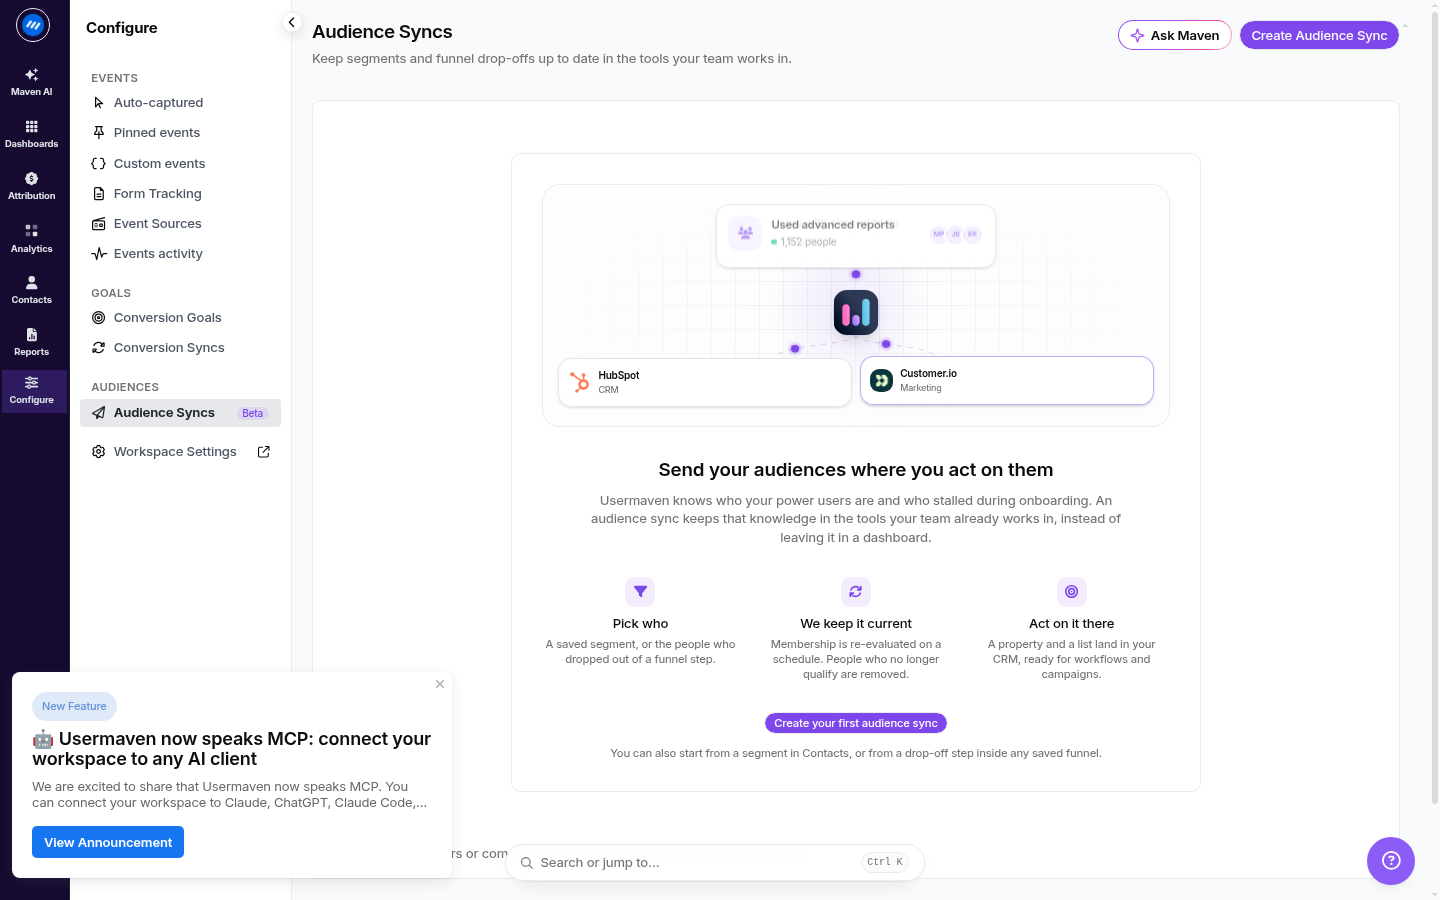
Usermaven's Reverse ETL moves data from Usermaven to a destination, a connected external app such as HubSpot or Customer.io. Each flow you set up is called a sync, and it runs on a schedule so your destinations always have up-to-date Usermaven data.
You can sync:
Users — user profiles and the attributes you've captured about them.
Companies — account-level information.
Audiences — people in a segment, funnel cohort, or journey cohort.
When data is written to a destination, it's namespaced with a um_ prefix (for example um_source, um_first_touch). This keeps Usermaven's writes clearly identifiable and avoids clashing with your own fields in the destination.
Note: Reverse ETL is different from a regular integration. A normal integration brings data into Usermaven. Reverse ETL sends it out. Usermaven only ever writes or updates records in your destination, it never reads them back unless your workflow does.
What you can use it for
Reverse ETL is most useful when you want to act on the behavior and insight you've already captured in Usermaven, without exporting CSVs by hand. For example:
Activate your audiences — send the people in a segment (for example "at-risk users" or "high-intent leads") to your CRM or messaging tool so your team can reach them.
Enrich records in your CRM — push useful attributes like first-touch source, last visit, or lifecycle stage onto your contacts and companies in HubSpot.
Remove manual re-exports — instead of downloading a list and re-uploading it elsewhere, your sync runs on a schedule automatically.
Power engagement tools — keep people up to date in tools like Customer.io so your campaigns always use fresh data.
Before you begin
Before you can set up a sync, make sure you have:
A Usermaven workspace with the data (users, companies, or audiences) you want to sync.
A connected destination account. You can only sync to a destination after it has been connected to your workspace.
Note: You can only sync to a destination after that destination has been connected to your workspace. See the next section.
Connect HubSpot
If you haven't connected the tool you want to sync to yet:
Go to Workspace Settings → Integrations.
Find the integration you want to act as a destination (for example HubSpot or Customer.io) and click Connect.
Complete the connection. For HubSpot this uses OAuth, you'll be asked to authorize Usermaven in HubSpot and grant the required permissions.
Once connected, the tool appears as an available destination.
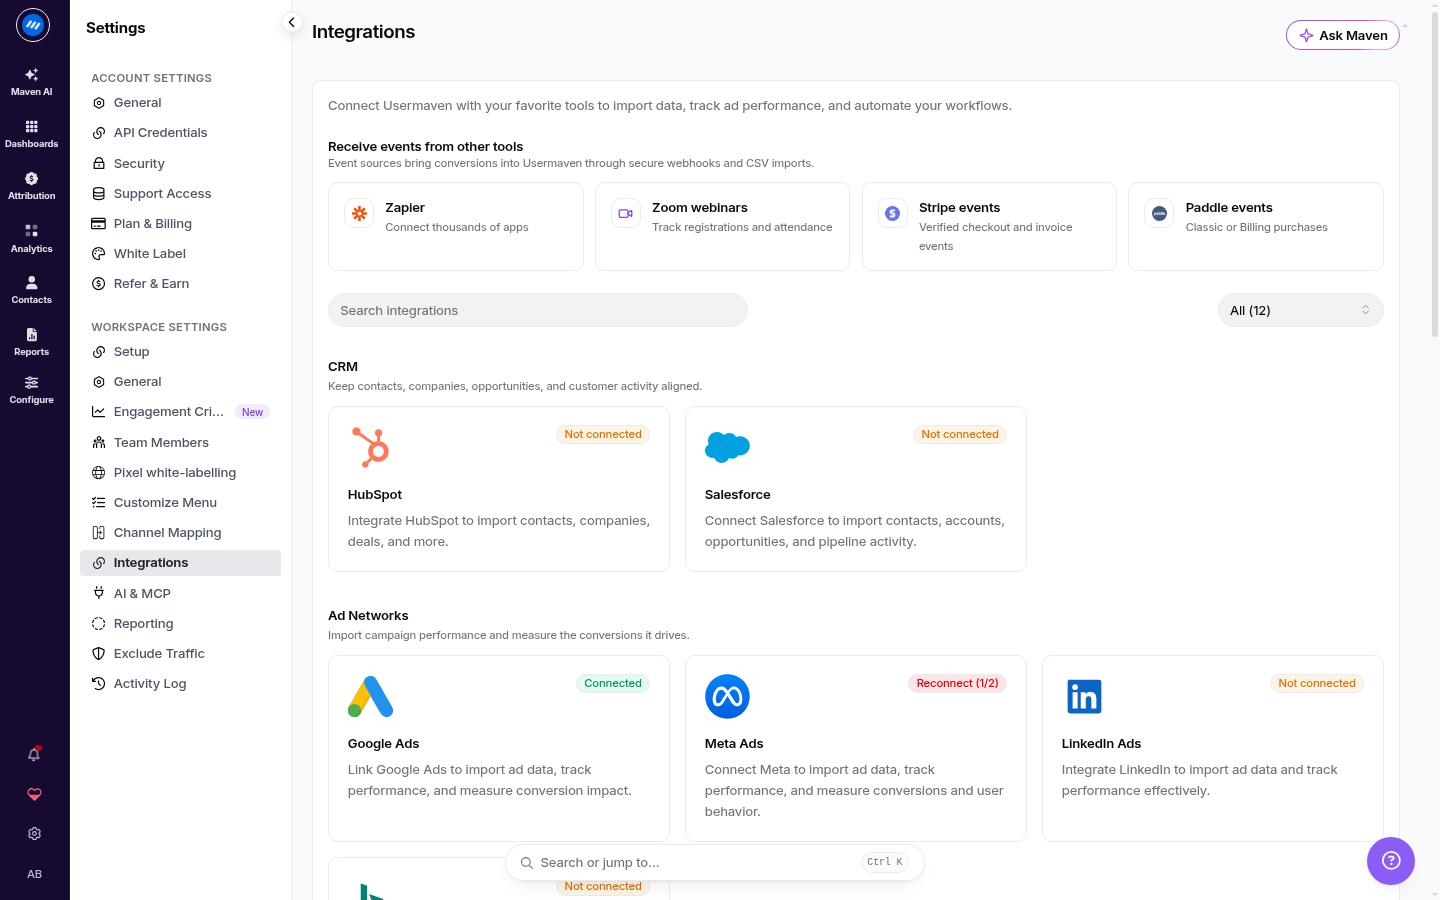
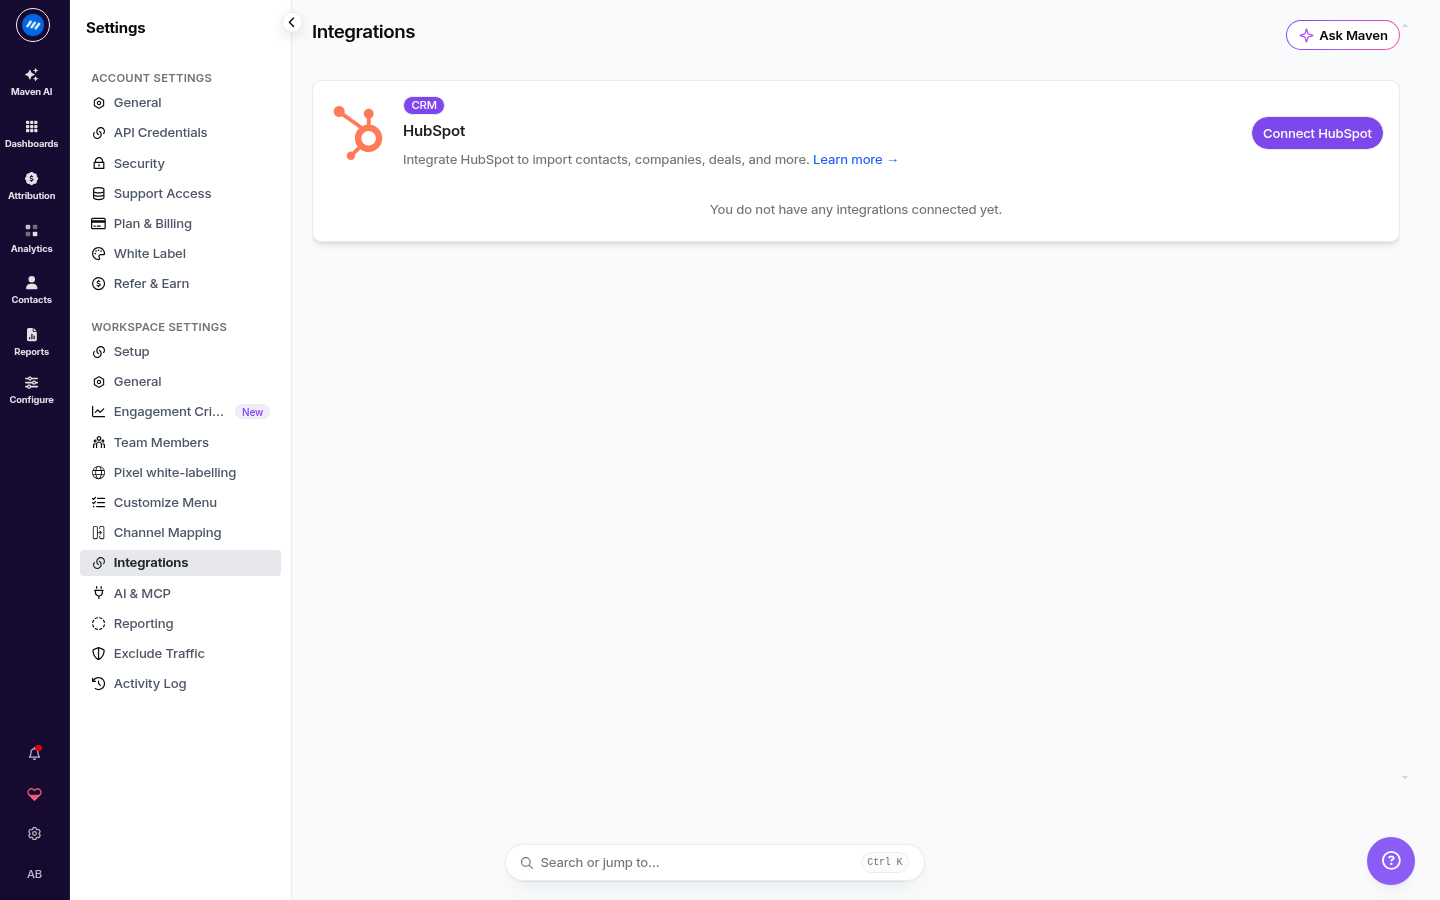
You can reconnect or manage an existing connection from the same Integrations area whenever you need to.
Create a sync
Reverse ETL lives in the Destinations area of Usermaven. To get there and start a new sync:
Open Configure in the left-hand menu.
Go to Audiences → Destinations (or Audience syncs).
Click New sync (or Sync to destination).
From here you can see any syncs you've created, check their run history, and start new ones. You'll also find a Sync to destinations option in a few other places, depending on what you're working with, for example from a contact's profile in Contacts Hub, or from a segment you've built.
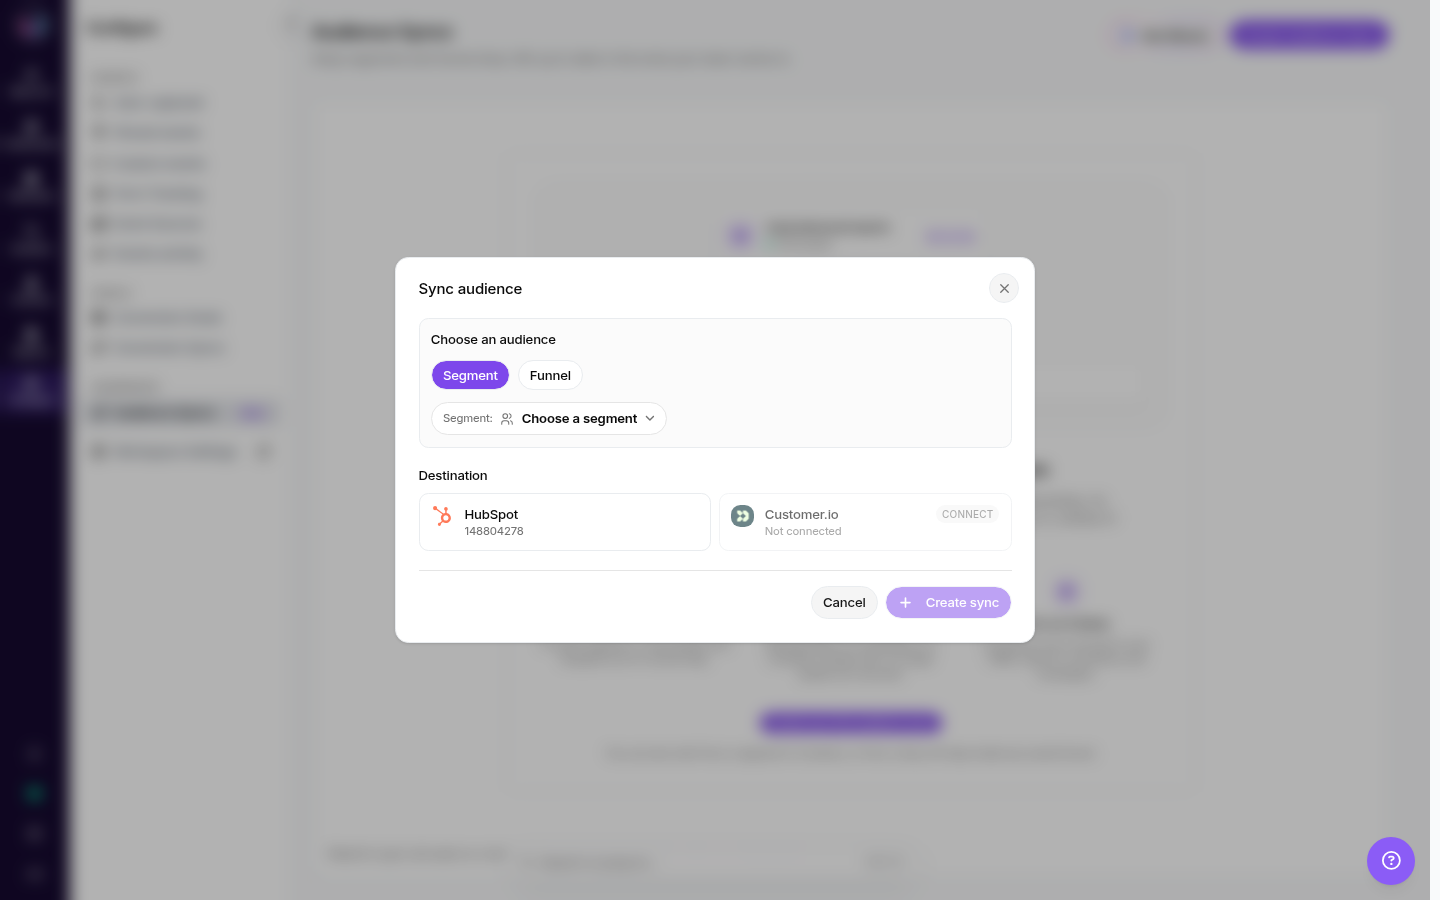
Select the source data
The source is the Usermaven data you want to send to HubSpot. In the setup screen, choose which source you want to sync:
Users — all user profiles.
Companies — all company profiles.
Audience — people in a specific segment, funnel cohort, or journey cohort. If you choose an audience, you'll then pick which segment or cohort to use.
You'll then choose the destination, the connected account you want to send data to (for example your HubSpot account).
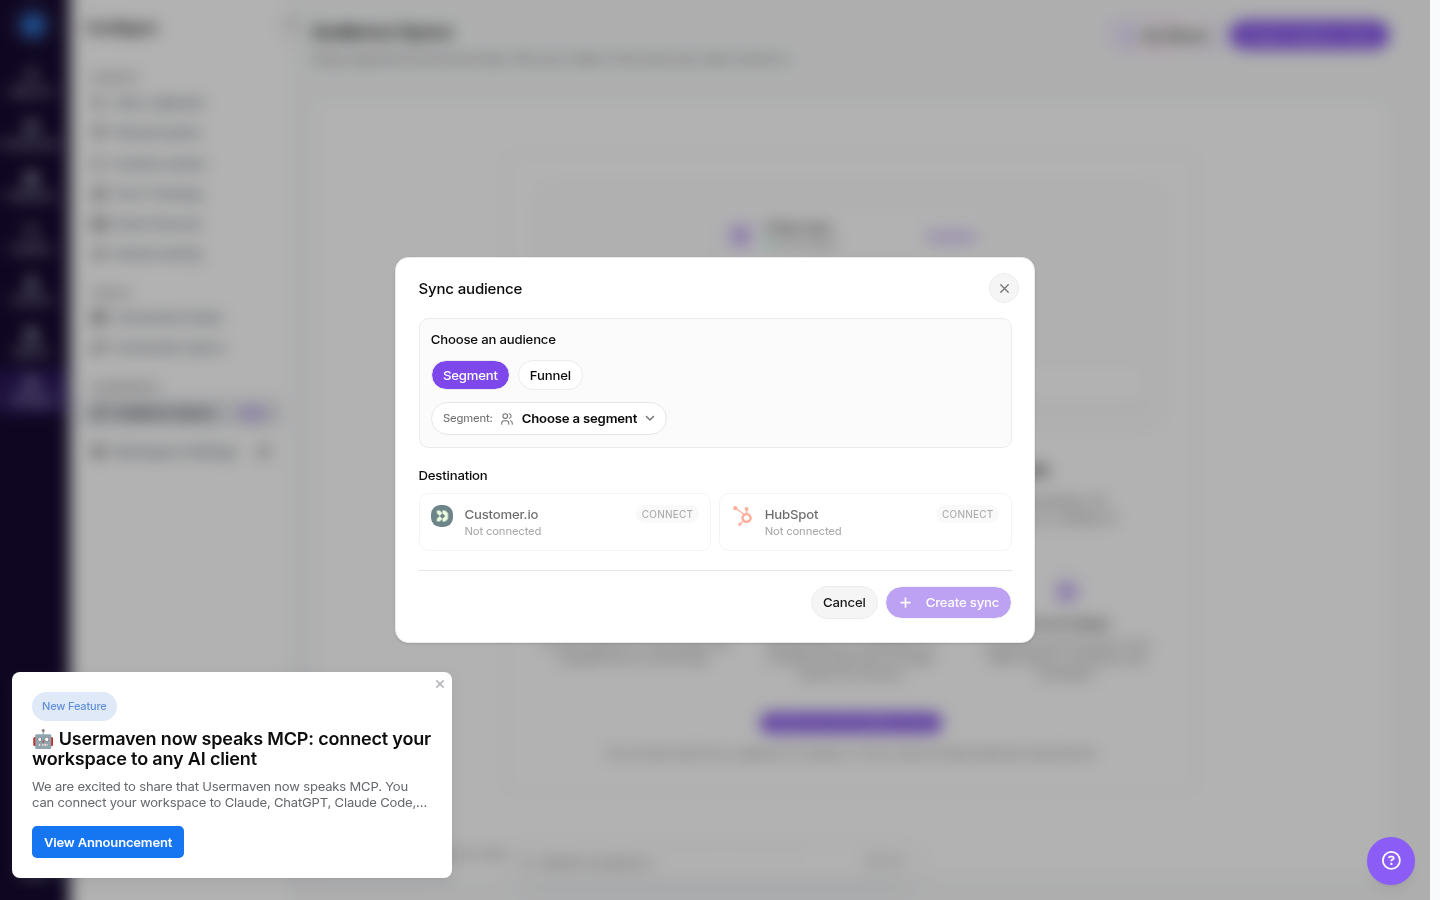
Note: This is a legacy placeholder image from the original article. The current, accurate source/destination selection screenshot is shown above.
Give your sync a clear name so it's easy to find later. Usermaven offers a sensible default based on the source you picked (for example the segment name), but you can change it.
Configure the HubSpot destination
This step controls how the sync behaves in HubSpot, where the data is written and what Usermaven is allowed to do to HubSpot records:
Create or update policy — for HubSpot, records are updated only (Usermaven never creates or deletes HubSpot records). Other destinations may allow creating profiles.
Map properties
Next, choose which data from the source gets sent, and how it's matched in the destination. Here's what you can set:
Field mapping — map the Usermaven attributes you want to send to fields in the destination. Usermaven matches records using an identity, for example email for users.
Source filters — optionally narrow down the records that sync, so only people who match your conditions are included.
What happens when someone leaves — for audiences, choose the behavior when a person no longer matches the source: do nothing, clear the synced fields, or remove them from the destination's list.
Set the sync schedule
Set how the sync runs over time:
How often it runs — choose your sync interval (for example every 1, 6, 12, or 24 hours). This controls how frequently Usermaven checks the source and writes updates to HubSpot.
Max records per run — an optional cap on how many records are written on each run, so a change in your mapping can't overwrite everything at once.
Create and run the sync
Before anything runs, preview what will be sent. Usermaven shows you a dry run, what would be written, including records that match, don't match, or are filtered out, without changing anything in your destination. This is your safety net, and a sync can't be turned on until a preview has succeeded.
When the preview looks right:
Review the summary of what the sync will do.
Turn the sync on (enable it) to create and activate it.
The sync will now run on your chosen schedule automatically. You can pause or delete it at any time from the Destinations list.
Verify data in HubSpot
After you activate a sync, check that data is flowing the way you expect:
Run history — open the sync's run history to see each run's status:
Running,Success,Partial, orFailed. A successful run shows how many records were read, attempted, and written.Look in the destination — open the contact or company in your destination (for example HubSpot) and confirm the
um_-prefixed fields have been written.Check the summary on the sync — the Destinations list shows a quick read on the last run, including how many records were matched and how many weren't in the destination yet.
If a run reports Partial, some records failed even though others succeeded. Open the run to see which records failed and why.
Manage existing syncs
From the Destinations list you can manage any sync you've created:
View — open a sync to see its configuration, summary, and run history.
Edit — change the source, mapping, destination settings, or schedule. After editing, run a new preview before re-enabling.
Pause or delete — you can pause a sync so it stops running, or delete it entirely, at any time.
Troubleshooting
"No available destinations" — You'll see this when you try to create a sync but no matching destination is connected. Connect the destination first under Workspace Settings → Integrations, then return to create your sync.
"A sync can't be enabled until a preview succeeds" — You changed the configuration after your last preview. Run a new preview (dry run) and confirm it succeeds before enabling the sync.
"Records not written to the destination" — Records can only be written if they already exist in the destination (for HubSpot's update-only policy). If nothing appears, the person may not exist in your destination yet, or their identity key (for example email) doesn't match. Check the run history for "not in destination" counts.
"Deleting a segment stops my audience sync" — If you delete the segment (or funnel/journey cohort) that feeds an audience sync, its syncs are turned off and delivery stops. Keep the source if you want the sync to keep running.
"Sync ran but nothing changed" — This is expected if the records already match what's in the destination, or if nothing in the source changed since the last run. Check the run history for the match counts to confirm.
If you run into something not covered here, reach out to our support team with your sync's run history and we'll help you get it sorted.
Was this article helpful?